Showing posts with label Tutorial. Show all posts

Tuesday, November 3, 2015

Autumn Calls For Butternut Squash Soup and Recipe

November 1st is always butternut squash soup night at our house. Our busy Halloween Season is over and we usually have all our decorating taken down and can just enjoy a quiet peaceful autumn night. This year our Nov. 1st was acutally on November 2nd, but whose counting :) It was actually a perfect soupy night due to a big storm coming in! I have two recipes I love, one is fast and one that takes a little more "love" haha. This time I was too tired for the extra "love" so we did the quick one so I could just break out the crock pot and then thoroughly clean my house and do a million loads of laundry. That was the plan, I actually ended up veging out on the couch and catching up on my recorded shows from October. (I think the great 3:30 am mass exodus of all décor Halloween earned an afternoon on the couch!) Anywho- if you have a busy afternoon of "house cleaning" scheduled, break out your slow cooker and here is the recipe for the quick Butternut Squash soup we like:

Ingredients:

  • 2 cups vegetable stock
  • 2 cloves garlic, peeled and minced
  • 1 carrot, peeled and diced
  • 1 Granny Smith apple, cored and diced
  • 1 medium butternut squash, (I just dumped a box of cubed butternut squash from Costco in)
  • 1 sprig fresh sage
  • 1 white onion, diced
  • 1/2 teaspoon salt, or more to taste
  • 1/4 teaspoon freshly-ground black pepper, or more to taste
  • 1/8 teaspoon cayenne, or more to taste
  • pinch of ground cinnamon and nutmeg
  • 1/2 cup canned coconut milk
  • (optional garnishes: extra coconut milk and cayenne)

Directions:

Add vegetable stock, garlic, carrot, apple, butternut squash, sage, onion, salt, pepper, cayenne, cinnamon and nutmeg to a slow cooker.  Toss to combine.
Cook for 6-8 hours on low, or 3-4 hours on high, or until the squash is completely tender and mashes easily with a fork.  Stir in the coconut milk.
Use an immersion blender to puree the soup until smooth.  (Or you can transfer the soup in two batches into a traditional blender, and puree until smooth, being very careful when working with the hot liquid.)  Taste, and season with additional salt, pepper and cayenne if needed.

If you have time for the extra "love" recipe, here it is. It's one of our favorites, courtesy of
Tyler Florence from the Food Network! The smell while cooking this is DIVINE!!

Butternut Squash Soup with Amaretti Cookies
Courtesy of Tyler Florence
Ingredients
  • 2 (2 pound) butternut squash, halved lengthwise, seeded
  • Vegetable oil
  • 1/4 pound amaretti cookies (I used lorna dune cooikies instead, but you can also omit them)
  • 1/2 cup olive oil
  • 1/4 bunch fresh sage
  • 1 onion, sliced thin
  • 4 cups chicken stock, either homemade or store-bought (I only used 1 cup chicken stock and 3 cups vegetable stock so the flavor of the squash didnt get lost in the chicken stock~)
  • Pinch of grated nutmeg
  • Salt and freshly ground black pepper
  • (i also added brown sugar to taste and lots more nutmeg and salt)

Directions

Preheat oven to 375 degrees F. Grease a 13 by 9 by 2-inch glass baking dish with vegetable oil. Place squash cut side up in prepared dish. Pierce each squash half several times with toothpick or skewer. Bake until squash is tender, about 45 minutes.
While the squash is cooking, use a handheld mixer with the chopping attachment to pulse the cookies until roughly chopped. Set aside.
In a large pot, bring the olive oil up to almost smoking. Quickly cook the sage leaves until crisp. Remove and reserve the sage, and saute the sliced onion. When the squash is done cooking, using a large spoon, scrape squash into the pot; discard peel. Add 3 1/2 cups chicken stock and nutmeg and puree until smooth, add additional stock to reach desired consistency. Stir soup over medium heat until heated through. Season to taste with salt and pepper. Ladle soup into bowls. Top with crushed amaretti; garnish with sage leaves
 

Monday, August 24, 2015

Back to School Eve Dinner

My little girl is finally starting Kindergarten. After 5.5 years of having her by my side as my little buddy, I no longer get to cuddle with her in the mornings and hang out in our pj's. She wasn't as disappointed as I was. She has been counting down almost all summer. So much, in fact, that by August 1st I made her a countdown calendar so she would stop asking how many days left!
She loved it right until the very last apple fell!
A fun tradition, I've always thought, to kick off the school year is the Back to School Eve Dinner. I've always loved the idea and so this year we had our first annual fest! She absolutely loved every minute of it, and I loved that just in time for it The Dating Diva's came out with a super cute back to school dinner printable kit. You can check it out and download the fun printables I used here.
Little J had fun helping write everyone's names on their tags...
and loved being the queen of dinner that night!
She got to pick the menu and dessert which was really fun for her to write out.
she decided even the baby needed his own set up!
She had so much fun filling out the back to school interview..
all was well for the queen, she could officially start Kindergarten in the morning!

Sunday, December 14, 2014

Christmas Popcorn

Everyone has that recipe that always gets the requests at the holidays. Mine is surprising because, while I am a baker and get orders for my cakes and treats all year, one of my most requested recipes is one of my easiest and could be made by anyone. Funny how that goes, isn't it? But year after year I have multiple people ask if they will be getting my Christmas Popcorn, so here is my handmade post for day 14 of the idea room's December photo-a-day here's my Christmas Popcorn recipe yumminess!

Christmas Popcorn
(can really be anytime popcorn, and with all its wonderful sweet and savory flavors, you can make it every day once in awhile, as you like!)
1 cup popcorn kernels
1 cup salted peanuts
2 cups salted pretzel rods
2 lbs. white chocolate ( I use these because they melt wonderfully and taste AMAZING)

Pop the popcorn and melt the chocolate in the microwave or in a double boiler until completely melted and no chunks remain. Then in a large bowl, combine the nuts and pretzels with the popcorn and pour the chocolate over the top. Use a spoon to thoroughly mix it all together. Once it is all combined, pour it out onto wax paper and spread it out to be a thin layer. Wait for it to dry, then break it into pieces and eat it all give it to all your friends!

Wednesday, December 10, 2014

Cozy Inside Day

A tradition we have to have to start Christmas at our house is the old English drink, Wassail! I'm surprised year after year how many people coming to our parties and house to visit, have never tried it! Every time I smell that amazing smell it brings me back to my childhood days of coming home from school or in from the cold and smelling it constantly roasting on the stove top throughout the month in our kitchen. When I don't think of that, I'm fondly reminded of drinking it as we wandered through our local Dickens Festival after usually performing with our dance group. Anyway you slice it, they're all wonderful memories of the smells and joys of the season!
I made it from scratch for years, but then I discovered a wonderful mix that got the taste to exactly the way I loved it, without having to spend a fortune on TONS of spices. Once I started using it, I was able to throw it all in our coffee peculator and let it sit and now I can get up to a week of enjoyment out of it. The more it simmers and heats up, the richer and more complex the flavors get. Can you say perfect for a warm winters night?!
 The mix is made here locally by the Squire family and is absolutely wonderful! I don't follow the instructions, but instead I throw an entire gallon of Cranberry Juice and the same amount of Apple Juice into my pot, with a half bottle of the powder mix. Stir it up, then in the top of the peculator ( or directly into the pot before my peculator days), I toss in a sliced orange, about 6-8 cinnamon sticks, a handful of whole cloves and a few allspice berries, and off it goes to become the amazing drink it is!!
 Enjoy on a cozy winter's night by the fire with your favorite book, or while getting in the Christmas spirit wrapping gifts!!
#theidearoom @theidearoom

Tuesday, December 9, 2014

Snow? What Snow!?/ Snow Tutorial

Day 9 for photo a day's theme is weather. Normally by now here we are in the 20's-30's during the day, sometimes in the single digits- those are reeeeeeealy cold days! However, right now here it is a pleasant 58! My kind of winter thus far!! Since there isn't any snow, and it feels really strange to sing "It's Beginning to Look A lot Like Christmas" when my front yard looks like this...
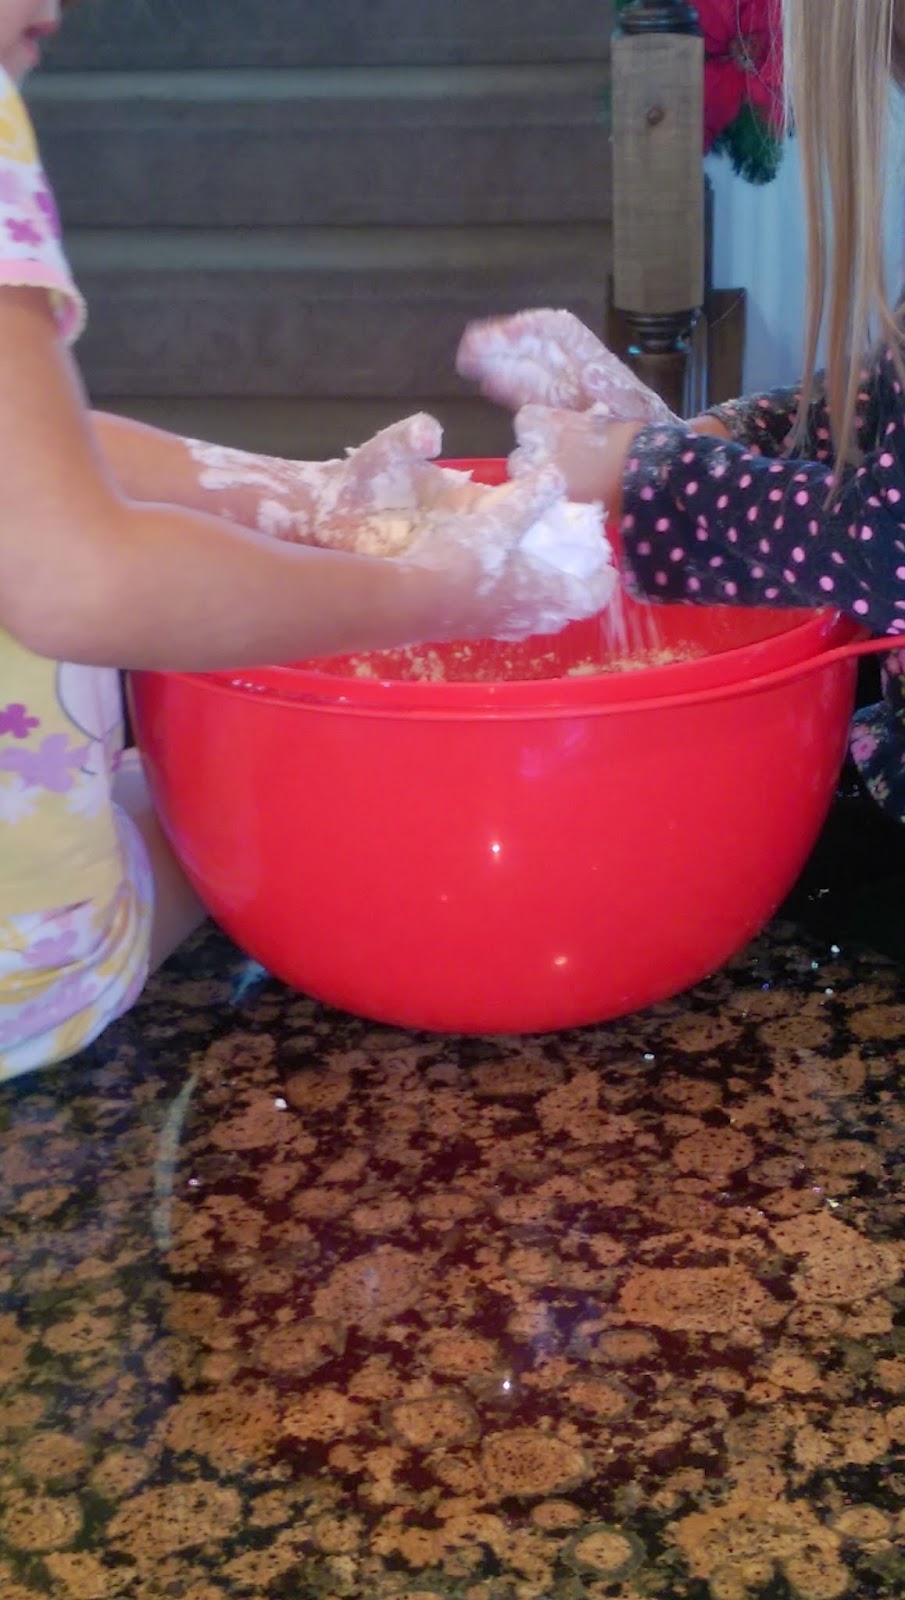
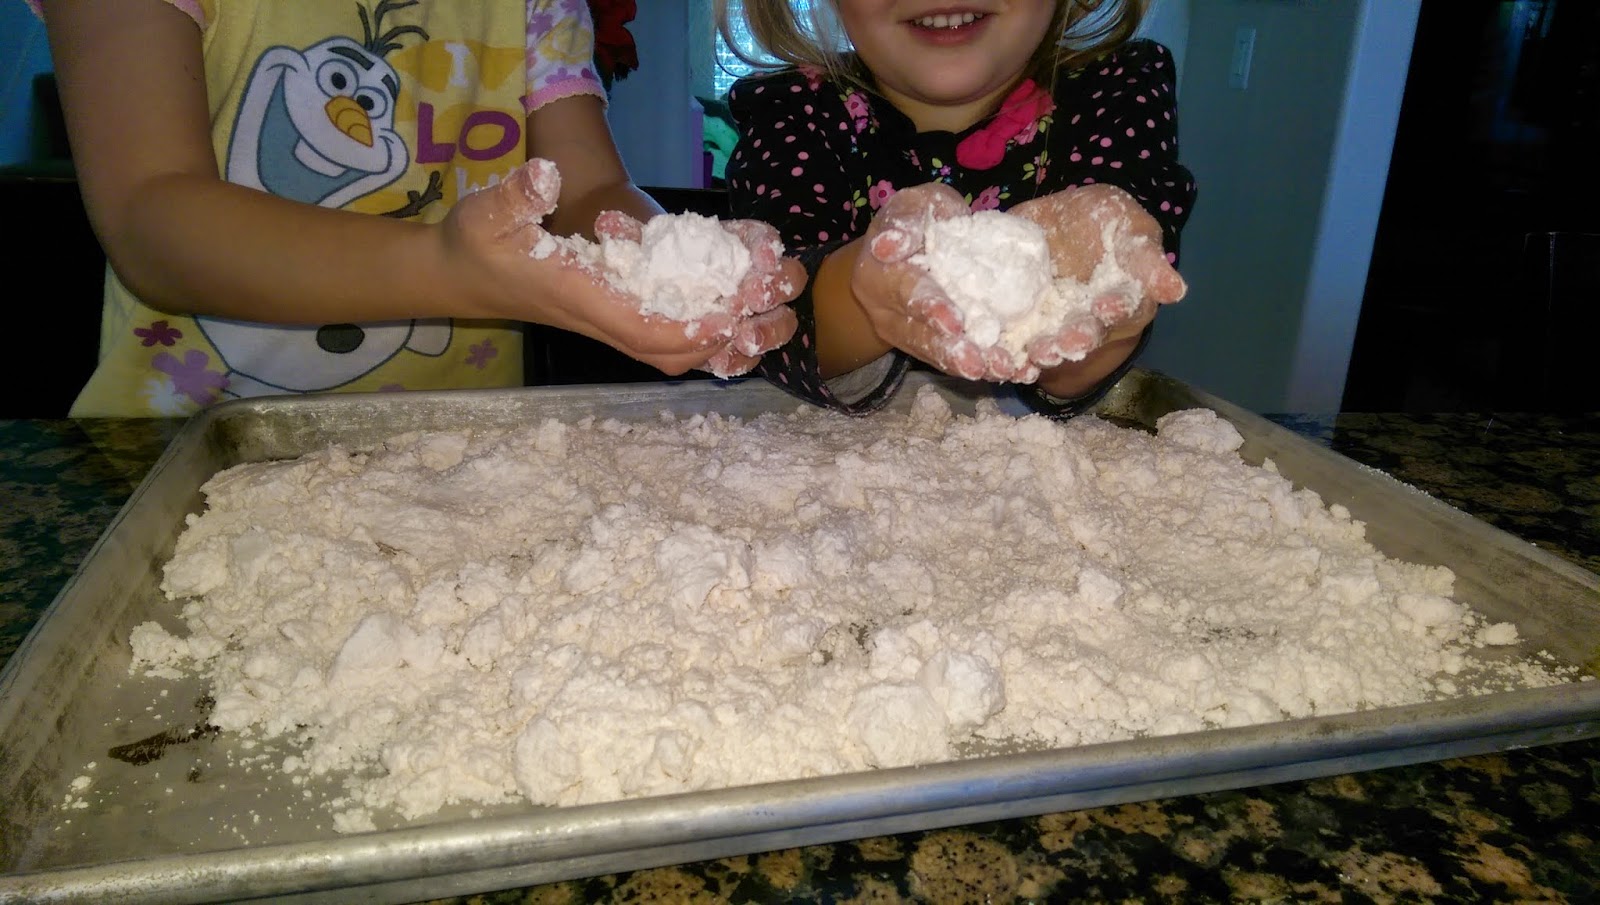
We decided to make our own snow!  It's probably the same two recipes everyone in the world has, but I've had some people give me the deer in the headlights look when I ask their kids if they want to make snow! SO, in honor of our beautiful, perfect (according to me) winter weather- here are our two favorite snow recipes!
Magic Puffy Snow-
 
3 cups of baking soda
1/4 cup of any shampoo
5 Tbsp water
1/4 cup of Citric Acid -click the link to find it, or you can find it in the canning section of your supermarket
food coloring- optional
In a large bowl combine the baking soda, the shampoo and any food coloring you want 1-2 drops. Then let your kids hands do the work and mix them all together until they're combined. After combined add the water until the dough is a little crumbly. They can make snowballs and play with it like this for awhile and when you're ready, sprinkle on the citric acid and watch it puff up and grow! It will keep growing and puffing for 30- 45 minutes or so. Enjoy!!
 
Fun Snow
This is a drier snow and is more powdery for sculpting.
 
2 16 oz containers of corn starch - I've used just one container and 1 can and get good results still
1 can of any shaving cream
glitter, peppermint extract etc. for effect- optional
this recipe can be halved as well
 
Combine all ingredients in a large bowl and mix with hands until fully incorporated.
Play!!
#theidearoom @theidearoom

Monday, December 8, 2014

Try Something New

Decembers photo a day challenge for days 7 and 8- dinner time and new.... Perfect, we tried something new at dinner time! I'm not an extremely adventurous eater, but I will try almost anything once. Case and point, our vacation to St. Thomas last summer we tried a great restaurant on the beach, Havana Blue and loved everything they recommended. So for my dinner entree I asked what was popular and was told their most popular veggie... Brussels Sprouts. Ok, I hadn't had anything bad yet, so I went along and ordered it. Out came one of the best meals I had ever had!!
 My awesome dinner doesn't look like much, but the lobster was grilled to perfection, the rice was just right- which I've decided is impossible in the Caribbean, the potatoes were unique- "air foam potatoes" and were incredible and the Brussels sprouts were truly one of the best veggies I've ever tasted! It became my life's mission to reverse every ones stigma on Brussels Sprouts and discover the recipe for these babies. I even emailed the restaurant inquiring what they did. I received a very nice response with a few tips but no secret recipe. Boo. Since then we've experimented and tried different ways and this recipe, though simple it sounds- is pretty close to it and extremely tasty. So ignore what you've heard about the little sprouts and just try something new once!
(pardon the camera phone pic!)
 
Awsome Brussels Sprouts:
adapted from dishingupthedirt.com
3 cups of brussels sprouts
2 tbs extra virgin olive oil
4 cloves of garlic, chopped
optional- sprinkles of cooked bacon (can you ever go wrong with bacon? I think not!)
Sprinkle Kosher Salt (yes it makes a big difference) and ground pepper to taste
 
Preheat oven to 400.  Trim the ends of the brussels sprouts, and remove any yellow or dirty outer leaves.  Toss them in a large bowl with the oil, garlic, salt and pepper.  Place on a baking sheet and roast for about 30 minutes or until golden brown.  Stir brussels once halfway through. I like to eat them as they are straight out of the oven, my hubby is a little strange and drizzels white vinegar on everything he can find and loves them that way!
#theidearoom @theidearoom

Saturday, December 6, 2014

Christmas Party and Oreo Ball Tutorial

Day 5 of the Idea Room Photo a Day December is themed for Sparkly! This was easy as we got ready for our 12th annual Angel Tree Christmas Party. Every year we choose the names of 2 children from our local Salvatrion Army's Angel Tree program. They find children in need of extra help this year and list their need on an Angel card and then you bring the gifts back and they distribute them to the families. The first year, my husband and I did it on our own, but then thought we could give so much more if we enlisted friends. So, since many like to give at the holidays but don't always know how, we planned a party around it. We send out the childrens needs with our invites every year and then everyone can brings gifts to the party and enjoy food friends and fun. Even those who may not want to bring a gift are enlisted to help wrap the gifts. Its an enjoyable night and gives everyone the chance to think of and serve another person at the beginning of the Christmas business!
 These oreo balls are AMAZING!!! They were the first thing gone and the most requested refill item at our party. They are also super easy, and did I mention they taste AMAZING? Well, it's worth mentioning again and again! To make these balls all you need is a package of regular oreos, chocolate or vanilla are both delicious, an 8oz package of cream cheese and some melting chocolate. You can use candy melts as well, but these are my favorite because they melt so smooth and are so rich in texture and taste!
 
Oreo Balls Recipe:
1 package of Oreos
1 8oz. package of cream cheese at room temperature
16 oz of dipping chocolate

Place Oreos and cream cheese in a food processor or blender and mix until a fine crumb.
Scoop out enough to roll 1 inch balls, I use a cookie scoop to ensure they are all the same size, and roll them into smooth balls.
Place them on a wax paper covered cookie sheet and into the fridge about 30 minutes.
Melt the chocolate over a double boiler or in the microwave for a minute and then 30 second incriments until it is a smooth ribbon when falling off a stirring spatula.
let the balls sit for a minute or two, then using either a fork or a toothpick, dip each ball into the chocolate, gently taping off the excess chocolate until the ball is smooth.

you can leave them at that or place them in the fridge for 5 minutes just to harden them up when finished. For these I sprayed them with gold Chefmaster edible spray. I think it gives  a more true metallic color than the Wilton brands, but I have used the wilton brands as well and they are fine. After the spray dried, I went over them with a dusting edible gold shimmer dust of  just to get that really shimmery look!
I think they are best served cold, so I keep them in the fridge, but my daughter loves them warm and gooey inside, so to each their own!  Enjoy!! 
here are some other yummies from our party:
from the top: Cranberry Pecan Chex Mix
Snowman Sugar Cookies
Peppermint Patties
Peppermint Cheesecake Cookies
Winter Cherry Snowball Cake Pops
Slow Cooker Candies Pecans- everyone should have this recipe, it smells divine while cooking!
Chocolate Candy Cane Cupcakes
French Vanilla Cupcakes filled with Cranberry Curd and topped with an almond vanilla frosting and sparkling cranberries
#theidearoom @theidearoom

Saturday, November 1, 2014

Kids Fall Tea Party and Treats/ Goo Tutorial

We had such a fun filled October, with parties and activities. To finish off the month, my daughter has been wanting to have a tea party for about a year now, so we decided to have a Halloween tea party! We made things from some of my favorite blogs and a few things of our own and had a great time! Here are some fun Halloween ideas!
My daughter really loved doing pumpkin buns this fall- easy and super cute! We just did this one with a rolled up sock.
Getting ready for the party...
 Each kid had their own cauldron to take home all their goodies in. I found them cheap after Halloween last year, but you can also get them fairly cheap here. That's the cheapest I've found this year. For drink fun, we used Sunny D juice bottleswith sport tops, bonus=no spills! Then we wrapped them in this pumpkin waterbottle label free from Dasani.
 super cute and easy clementine "pumpkins", just use a piece of celery for the stem!
 banana ghosts
 mini monster cakes
 spider pops
 pb&j sandwiches and plain butter and jam sandwiches just cut with a pumpkin cookie cutter
 toilet paper mummy wrapping 101
 donuts on a string game- must eat without hands
some cheated :)
 After the donuts the afternoon of pure sugar continued with cookie decorating. We made ghost and pumpkin cookies and frosted them in advance with white and orange icing. After they were thoroughly dried, the kids were able to use edible markersto design their own cookies. My daughter absolutely loves doing this. Anytime I make cookies, I always save a few for her to do with my pens. They make super cute personalized gifts for grandparents! 
The kids finished off the party by making homemade goo (also called flubber). It's something that is super easy and one of the hits of the party most of the time! Kids and Goo, go figure!
 Monster Goo
Glitter Goo- oh the possibilities!
 I never knew how to make it until I tried a few recipes with much failure.
This one seems to work great!
Goo: use 2 bowls-
Bowl 1:
3/4 cup cold water
1 cup Elmer's Washable Glitter Glue (Glitter Glue is fun because its more like slime)
food coloring of your choice
Mix these together

Bowl 2:
1/2 cup hot water
1 tsp. Borax( if you can find a small box your lucky! I never could, so I keep my supply of  Borax and use it for extra laundry care or rainy day Goo making!)
Mix these until the  is dissolved
Slowly add the glue mixture to the Boraxmixture and mix well. Pour out any extra water and store Goo fun in a sandwich bag so it doesn't dry out. There are so many themes you can use with Goo. We have mixed in everything from glitter powder to little figurines and holiday decor! Its perfect with snowflakes for a "frozen" winter Goo!

Here are a few pics from our Halloween day traditions!
We pick up our daughter from school dressed up and head to lunch at the The Cheesecake Factory , mmm, before trick-or-treating to the mall...
Yummy Halloween Hot Chocolate-its fun for the kids because you can do all sorts of colors and toppings! We did monster green with candy eyeballsand pumpkin orange with sugar sprinkles. There is nothing better than homemade white hot chocolate. I love this recipe from Your Homebased Mom, we found it last year and L.O.V.E it!!! We pair the hot chocolate with yummy homemade donuts (buttermilk biscut pop and serve dough fried with canola oil-super simple) and there you have the perfect snack after a chilly night out trick or treating- or in our case, justified by doing anything outside in the fall or winter.... or maybe spring.....and summer, haha!
Happy Halloween from our Frozen family!